Rough outline for a PlankTruder post
About the Recreator3D Project
Recreator3D is a project by Joshua Taylor
The idea being to try and reduce the waste that we 3D printer owners produce on a regular basis, not just via prints but also amount create through consuming soft drinks and the perpetual cycle of modifying our 3D Printers.
Unfortunately there appears to be a common theme with people getting into the 3D printing hobby… that is the “new enthusiast” tends buy the cheapest 3D printer they can get their hands on. This then goes one of four ways:
- The new comer knows what they’re getting themselves into with having purchased something that will potentially break, be willing to troubleshoot and enjoy learning more about how their machine works and what they should do to get around the problems they are facing.
- Return/dispose of the printer and never touch the hobby again.
- Return/dispose of the printer and buy one that suits their needs/requirements.
- It works, and they live happily ever after.
Of these options, I’d prefer the last it’s nice to see people’s projects they create! But this still leave a fair few innocent 3D printers out there who are looking for new homes, and that’s where the Recreator comes in.
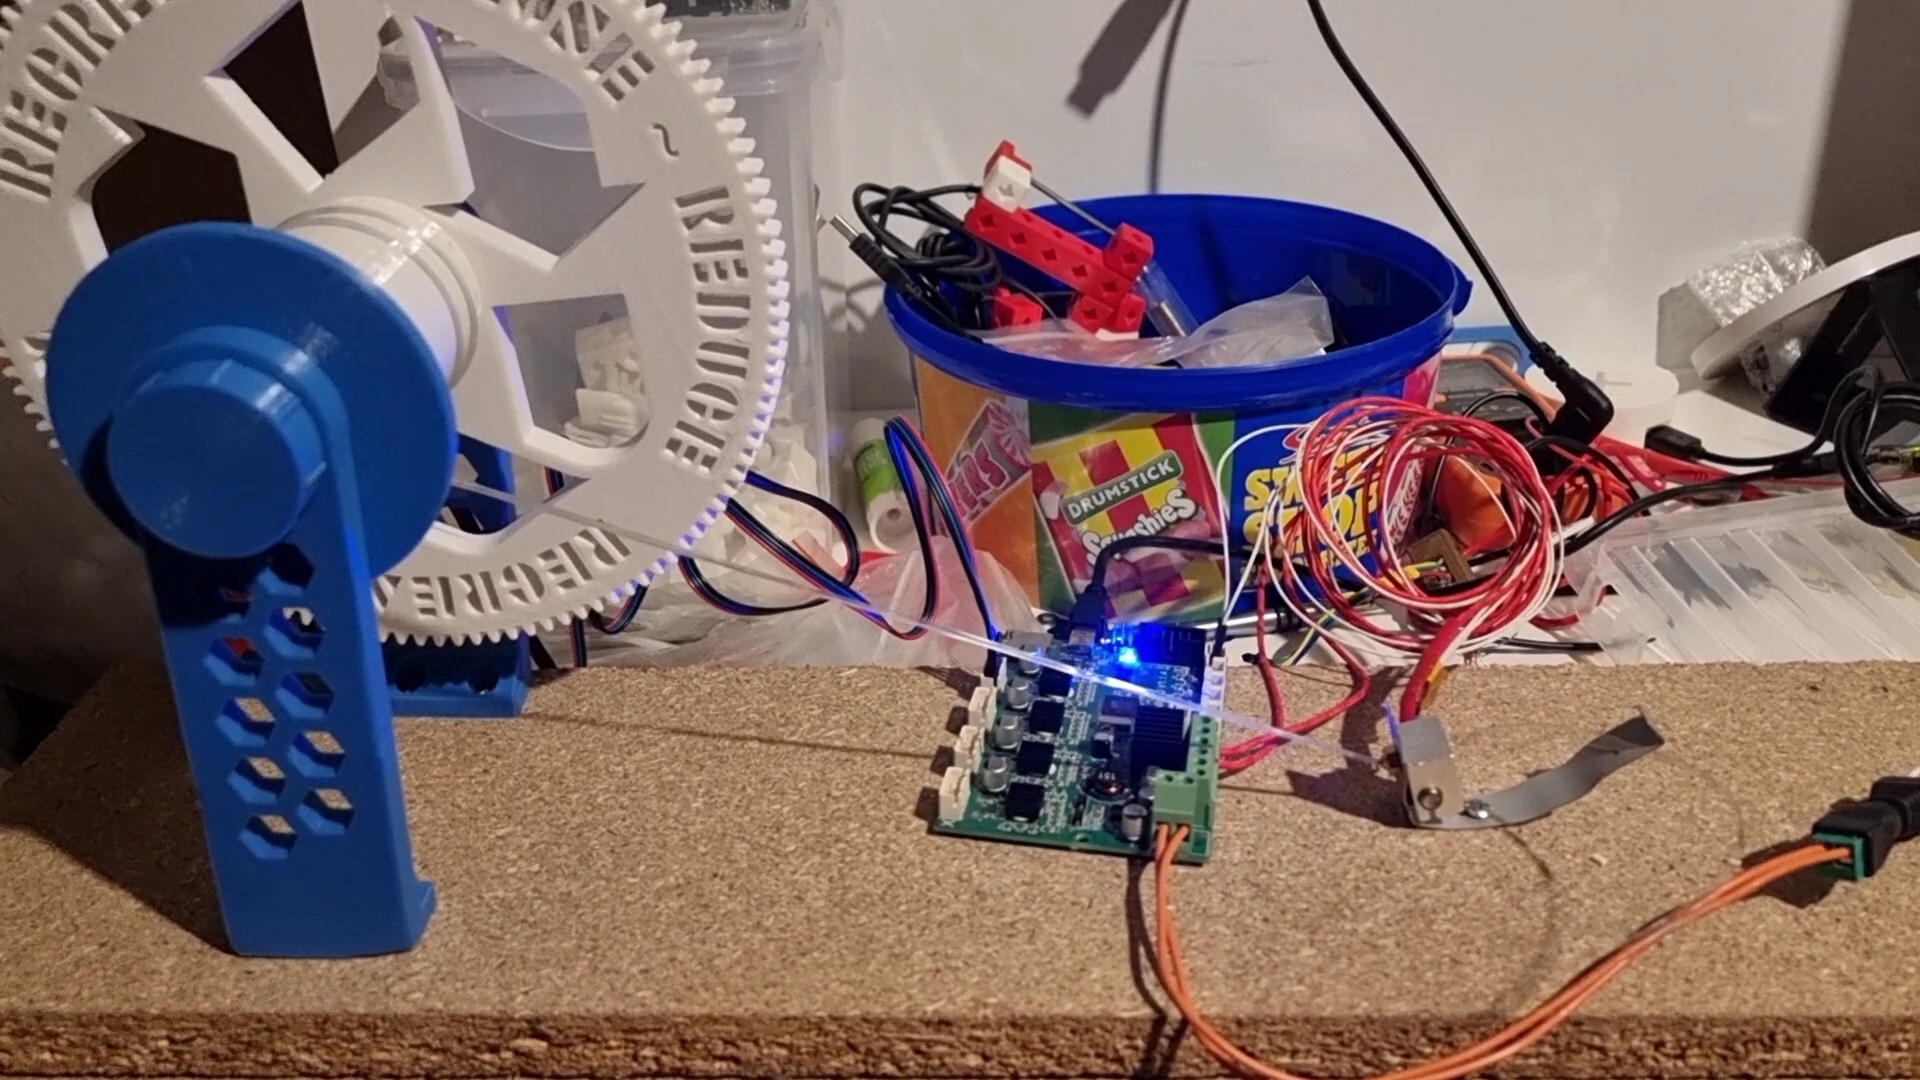
I’m happy to be wrong here, but as far as I can tell a Pulltruder needs 5 things:
- Some kind of controller
- A bottle cutter
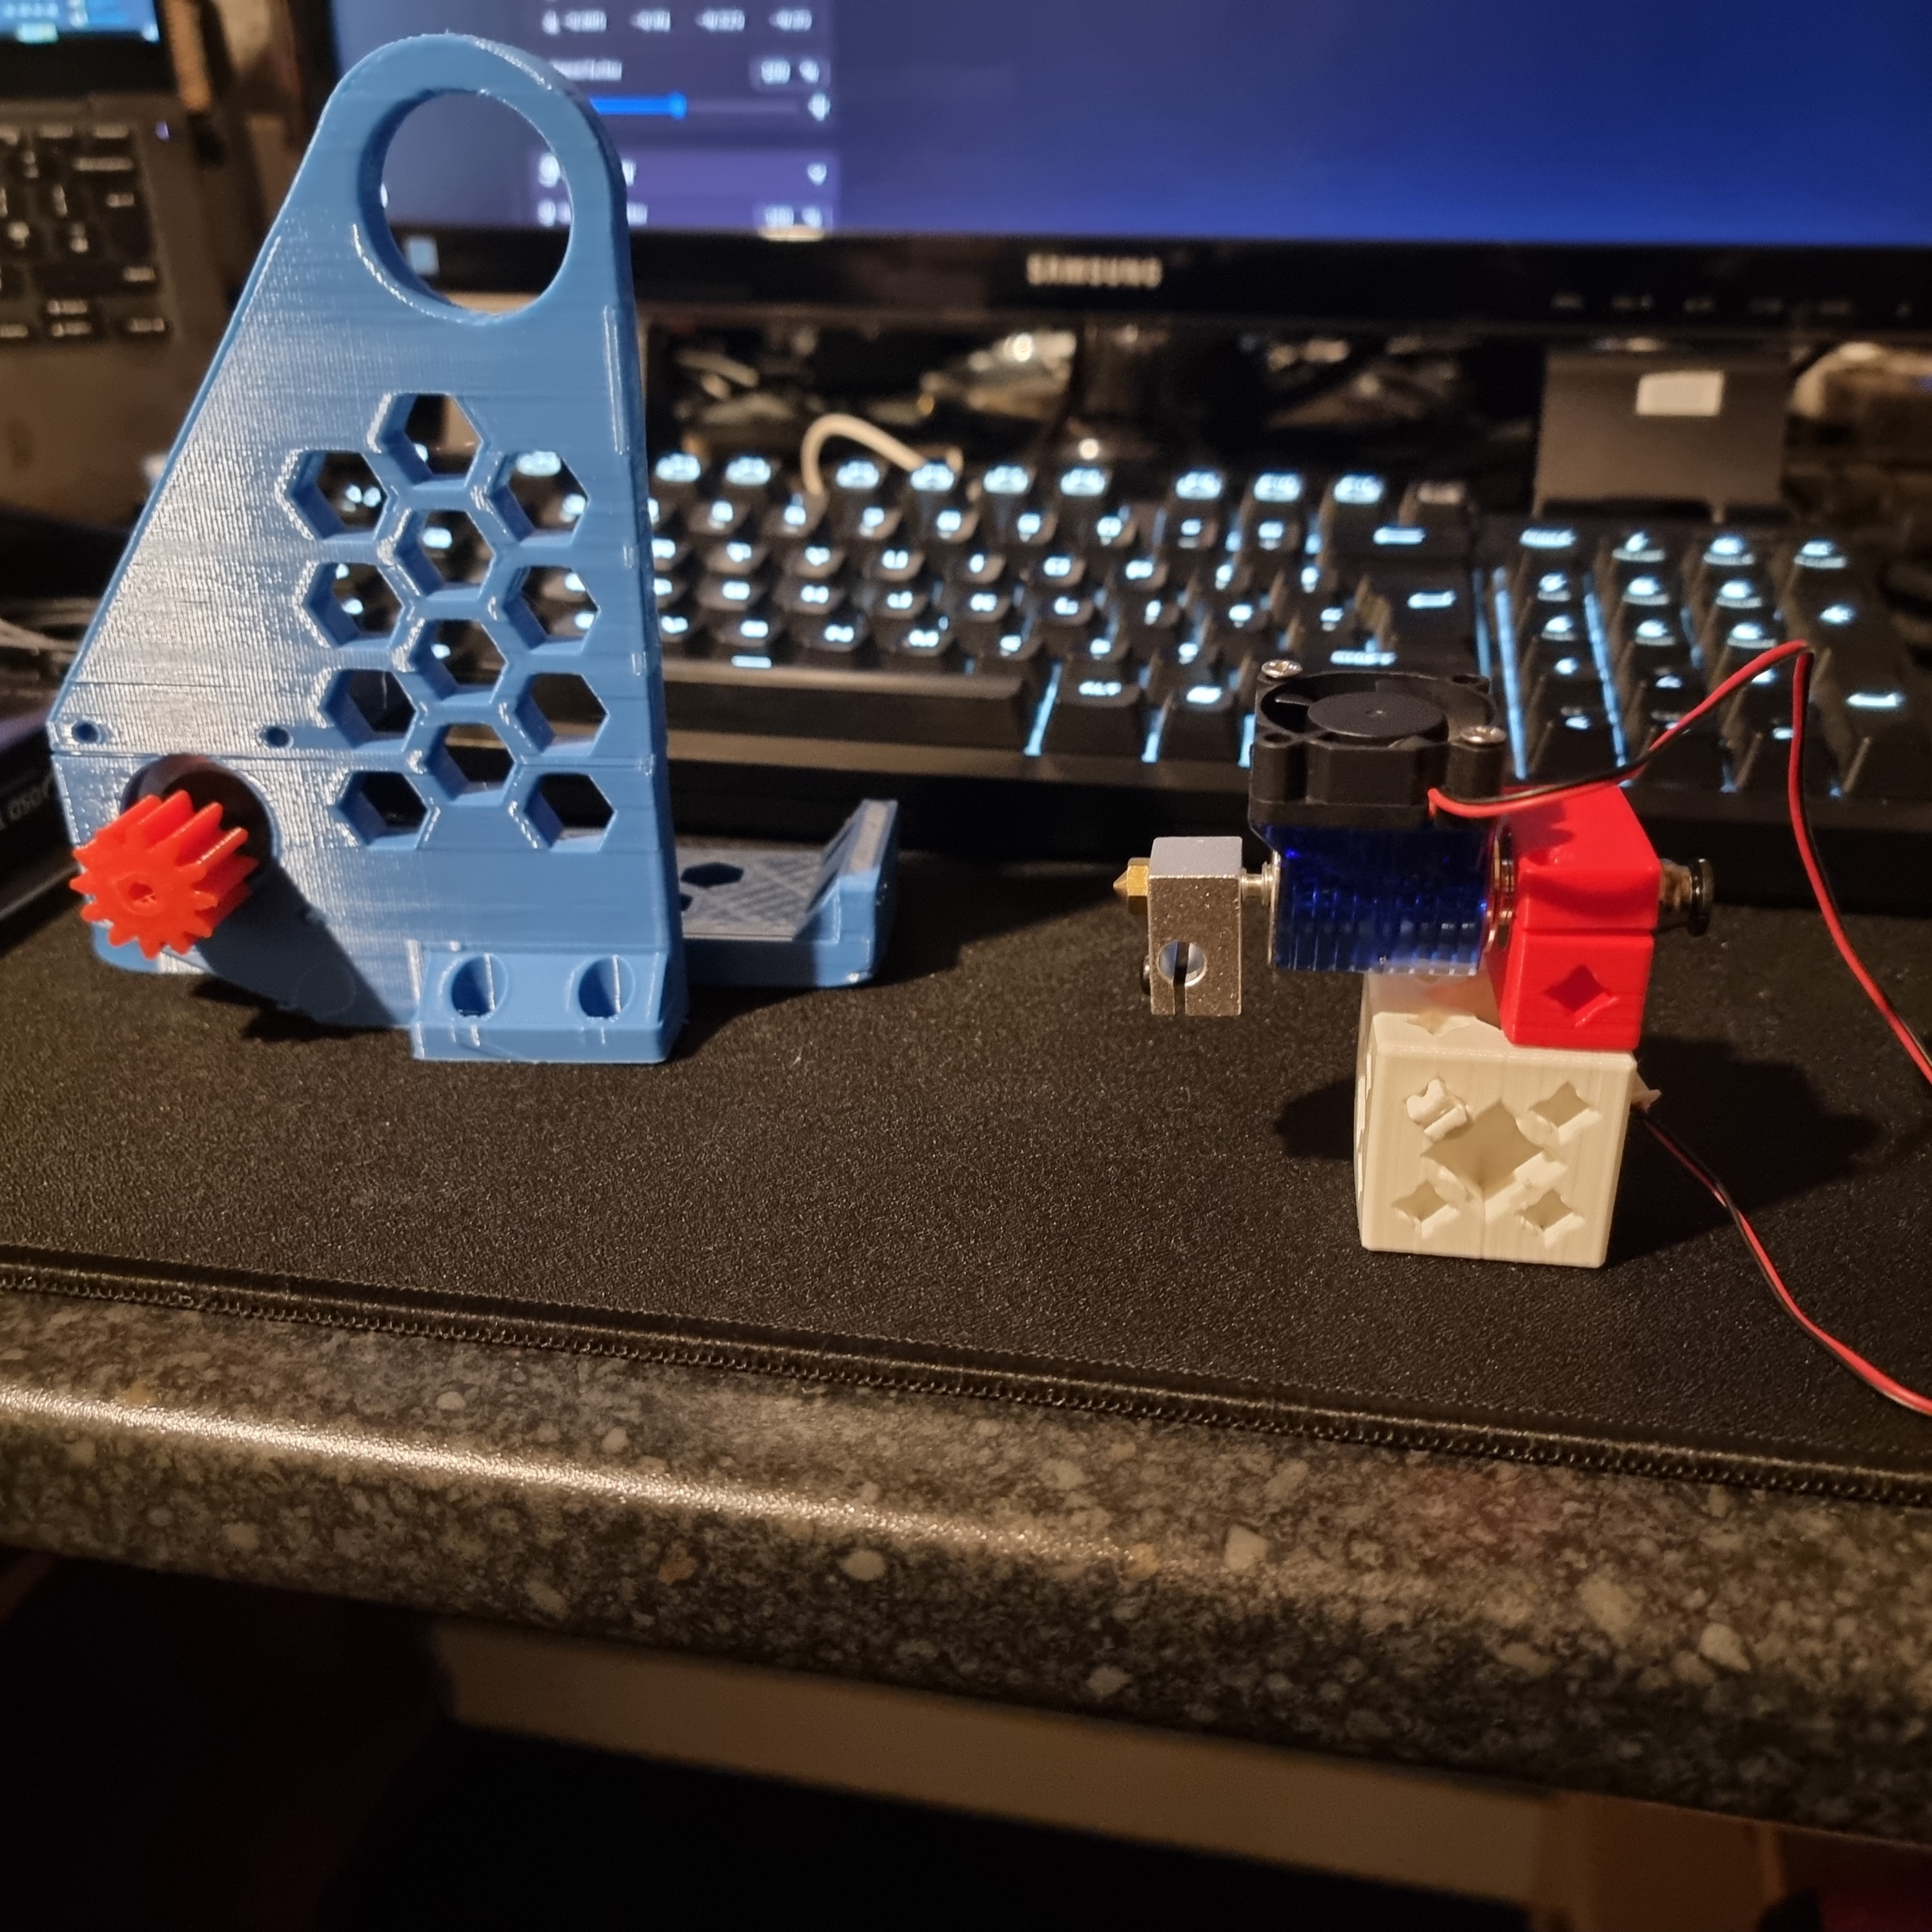
- A hotend
- Something to do the pulling
- Something to hold it all together
An unloved3D printer has all of these, and parts to spare.
Woah hold on, if these fancy things exist, why is your PET Pulltruder built onto a plank of MDF?
Because this about recycling and using what you’ve got to hand! (These bullet points will be magically extend these and include photos of the process)
These are the steps I took to get my Planktruder
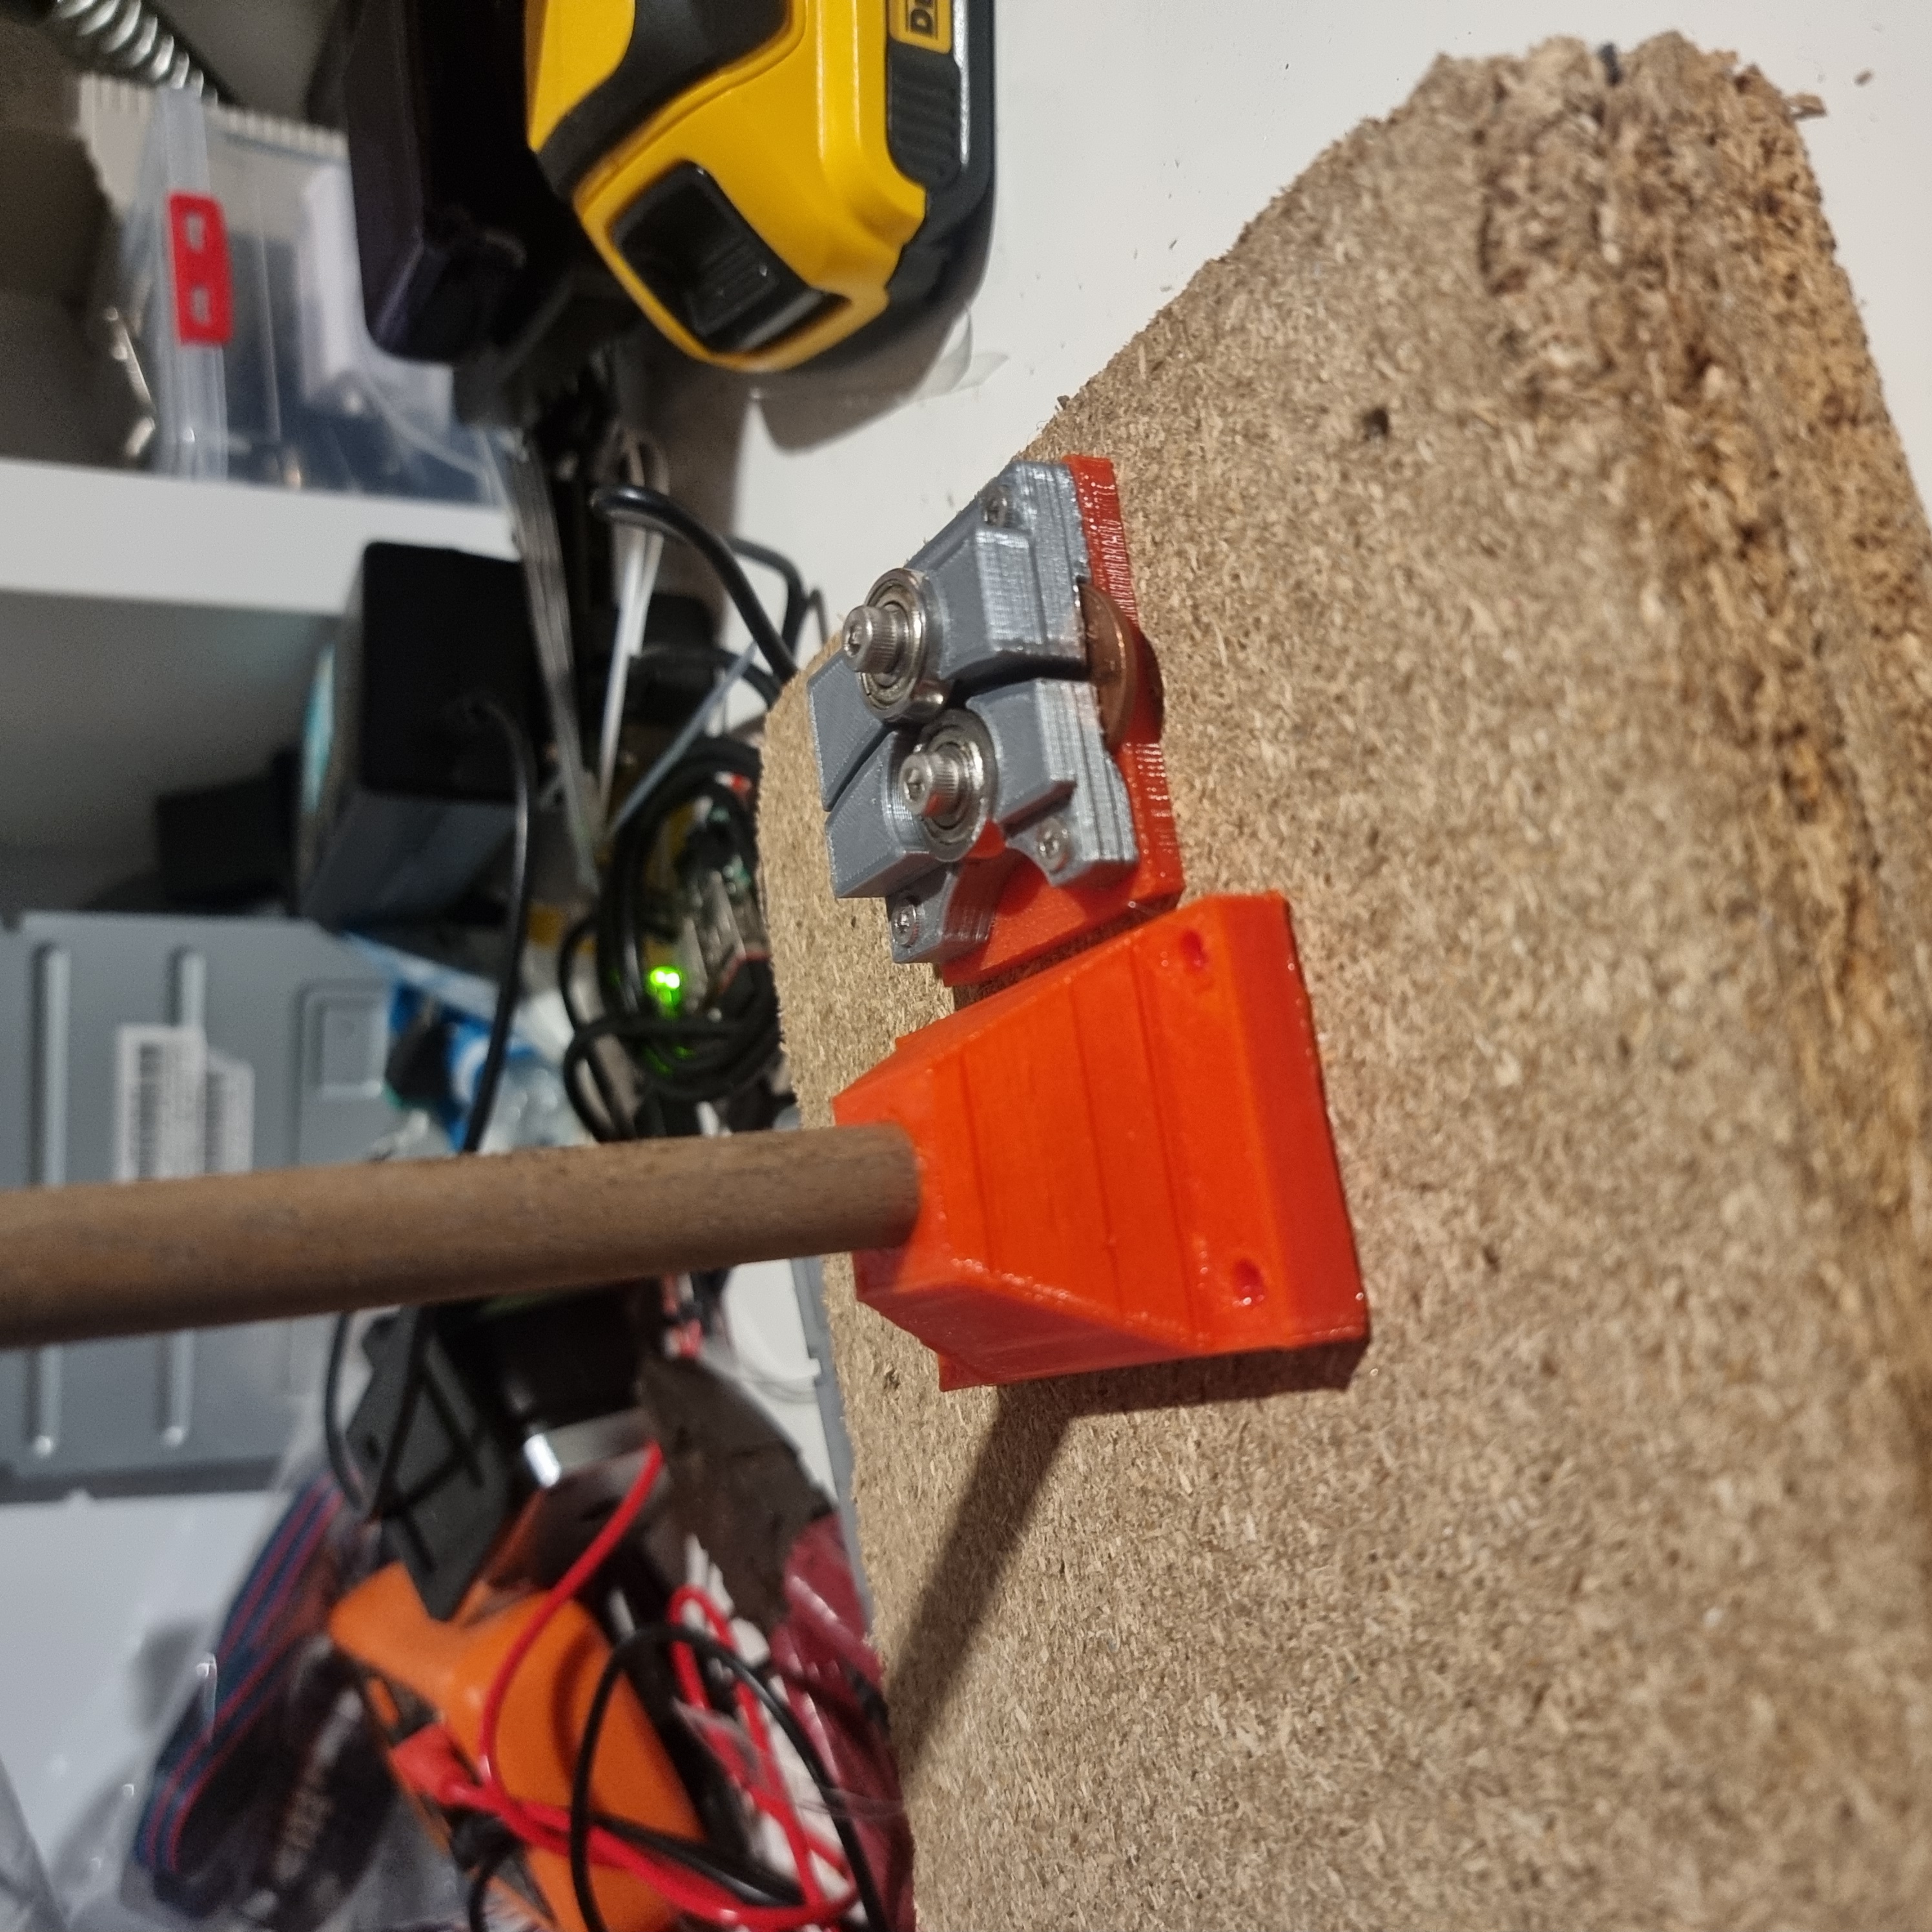
The Community Bottle Cutter (remixed to use UK Pennies)
- DEMO THE COMMUNITY BOTTLE CUTTER
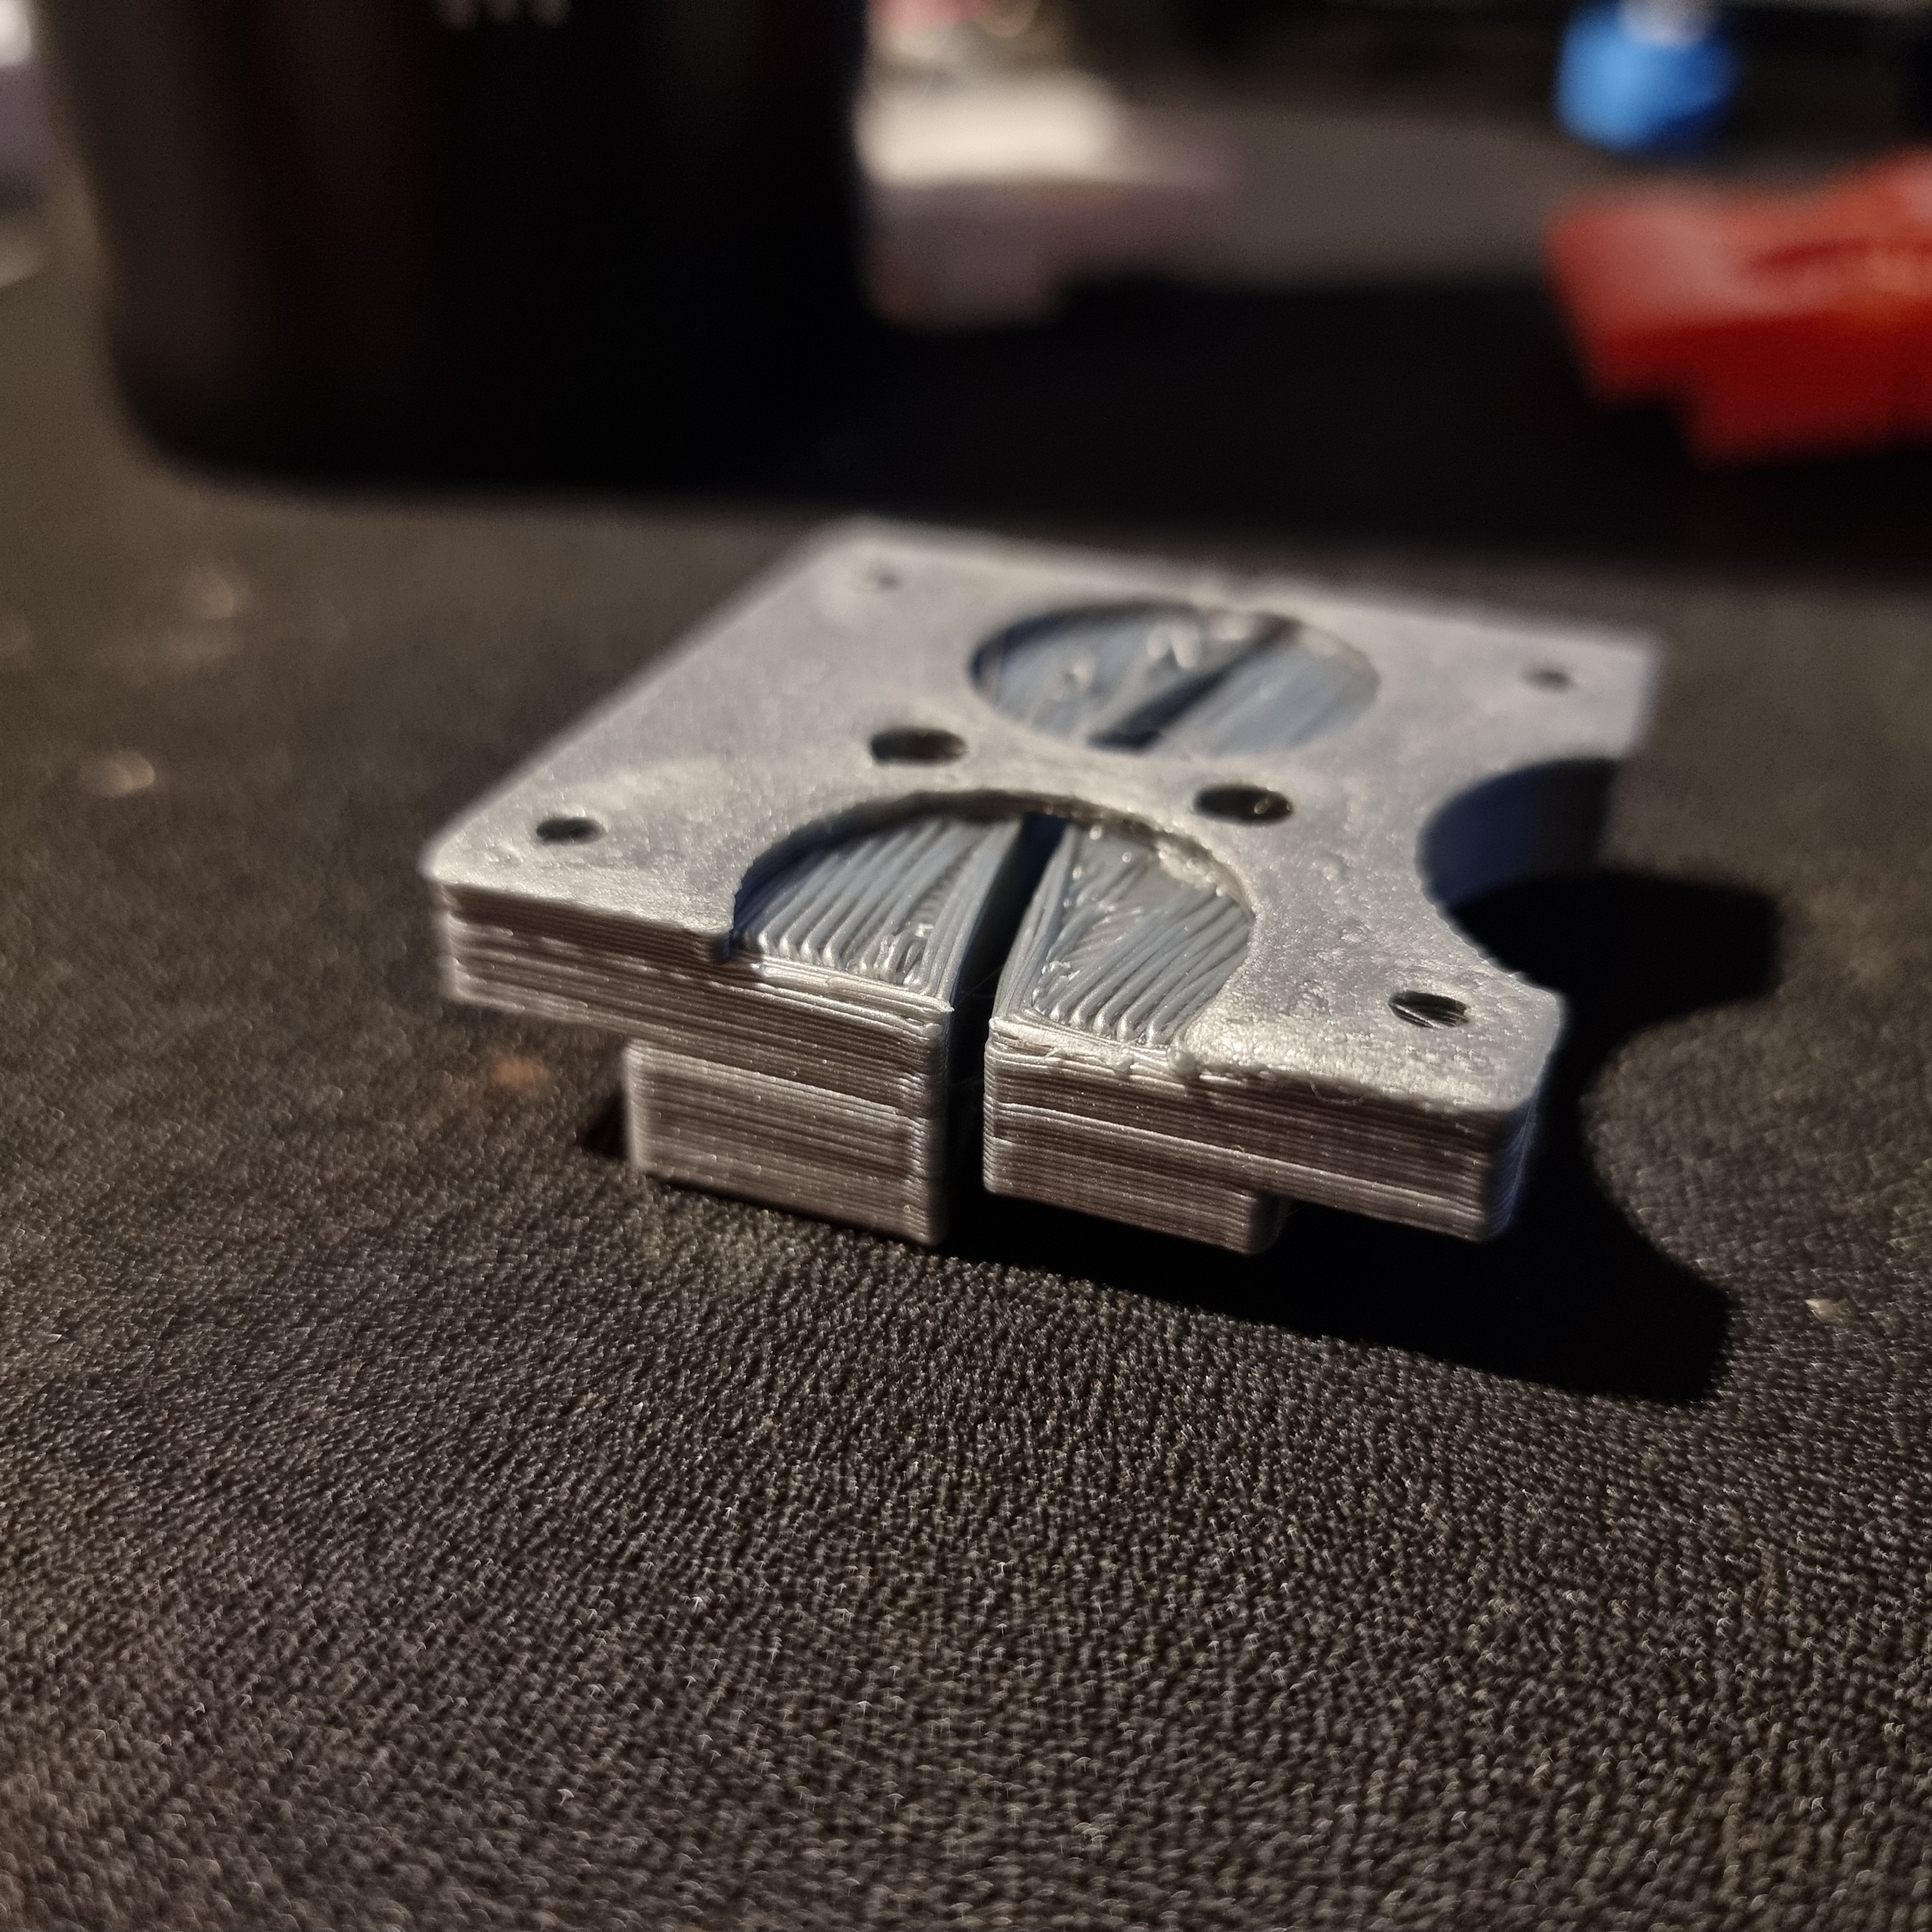
Grinding the bearings (there is a gif on this page, it looks cool)
Drilling the nozzle (cringey video needs making)
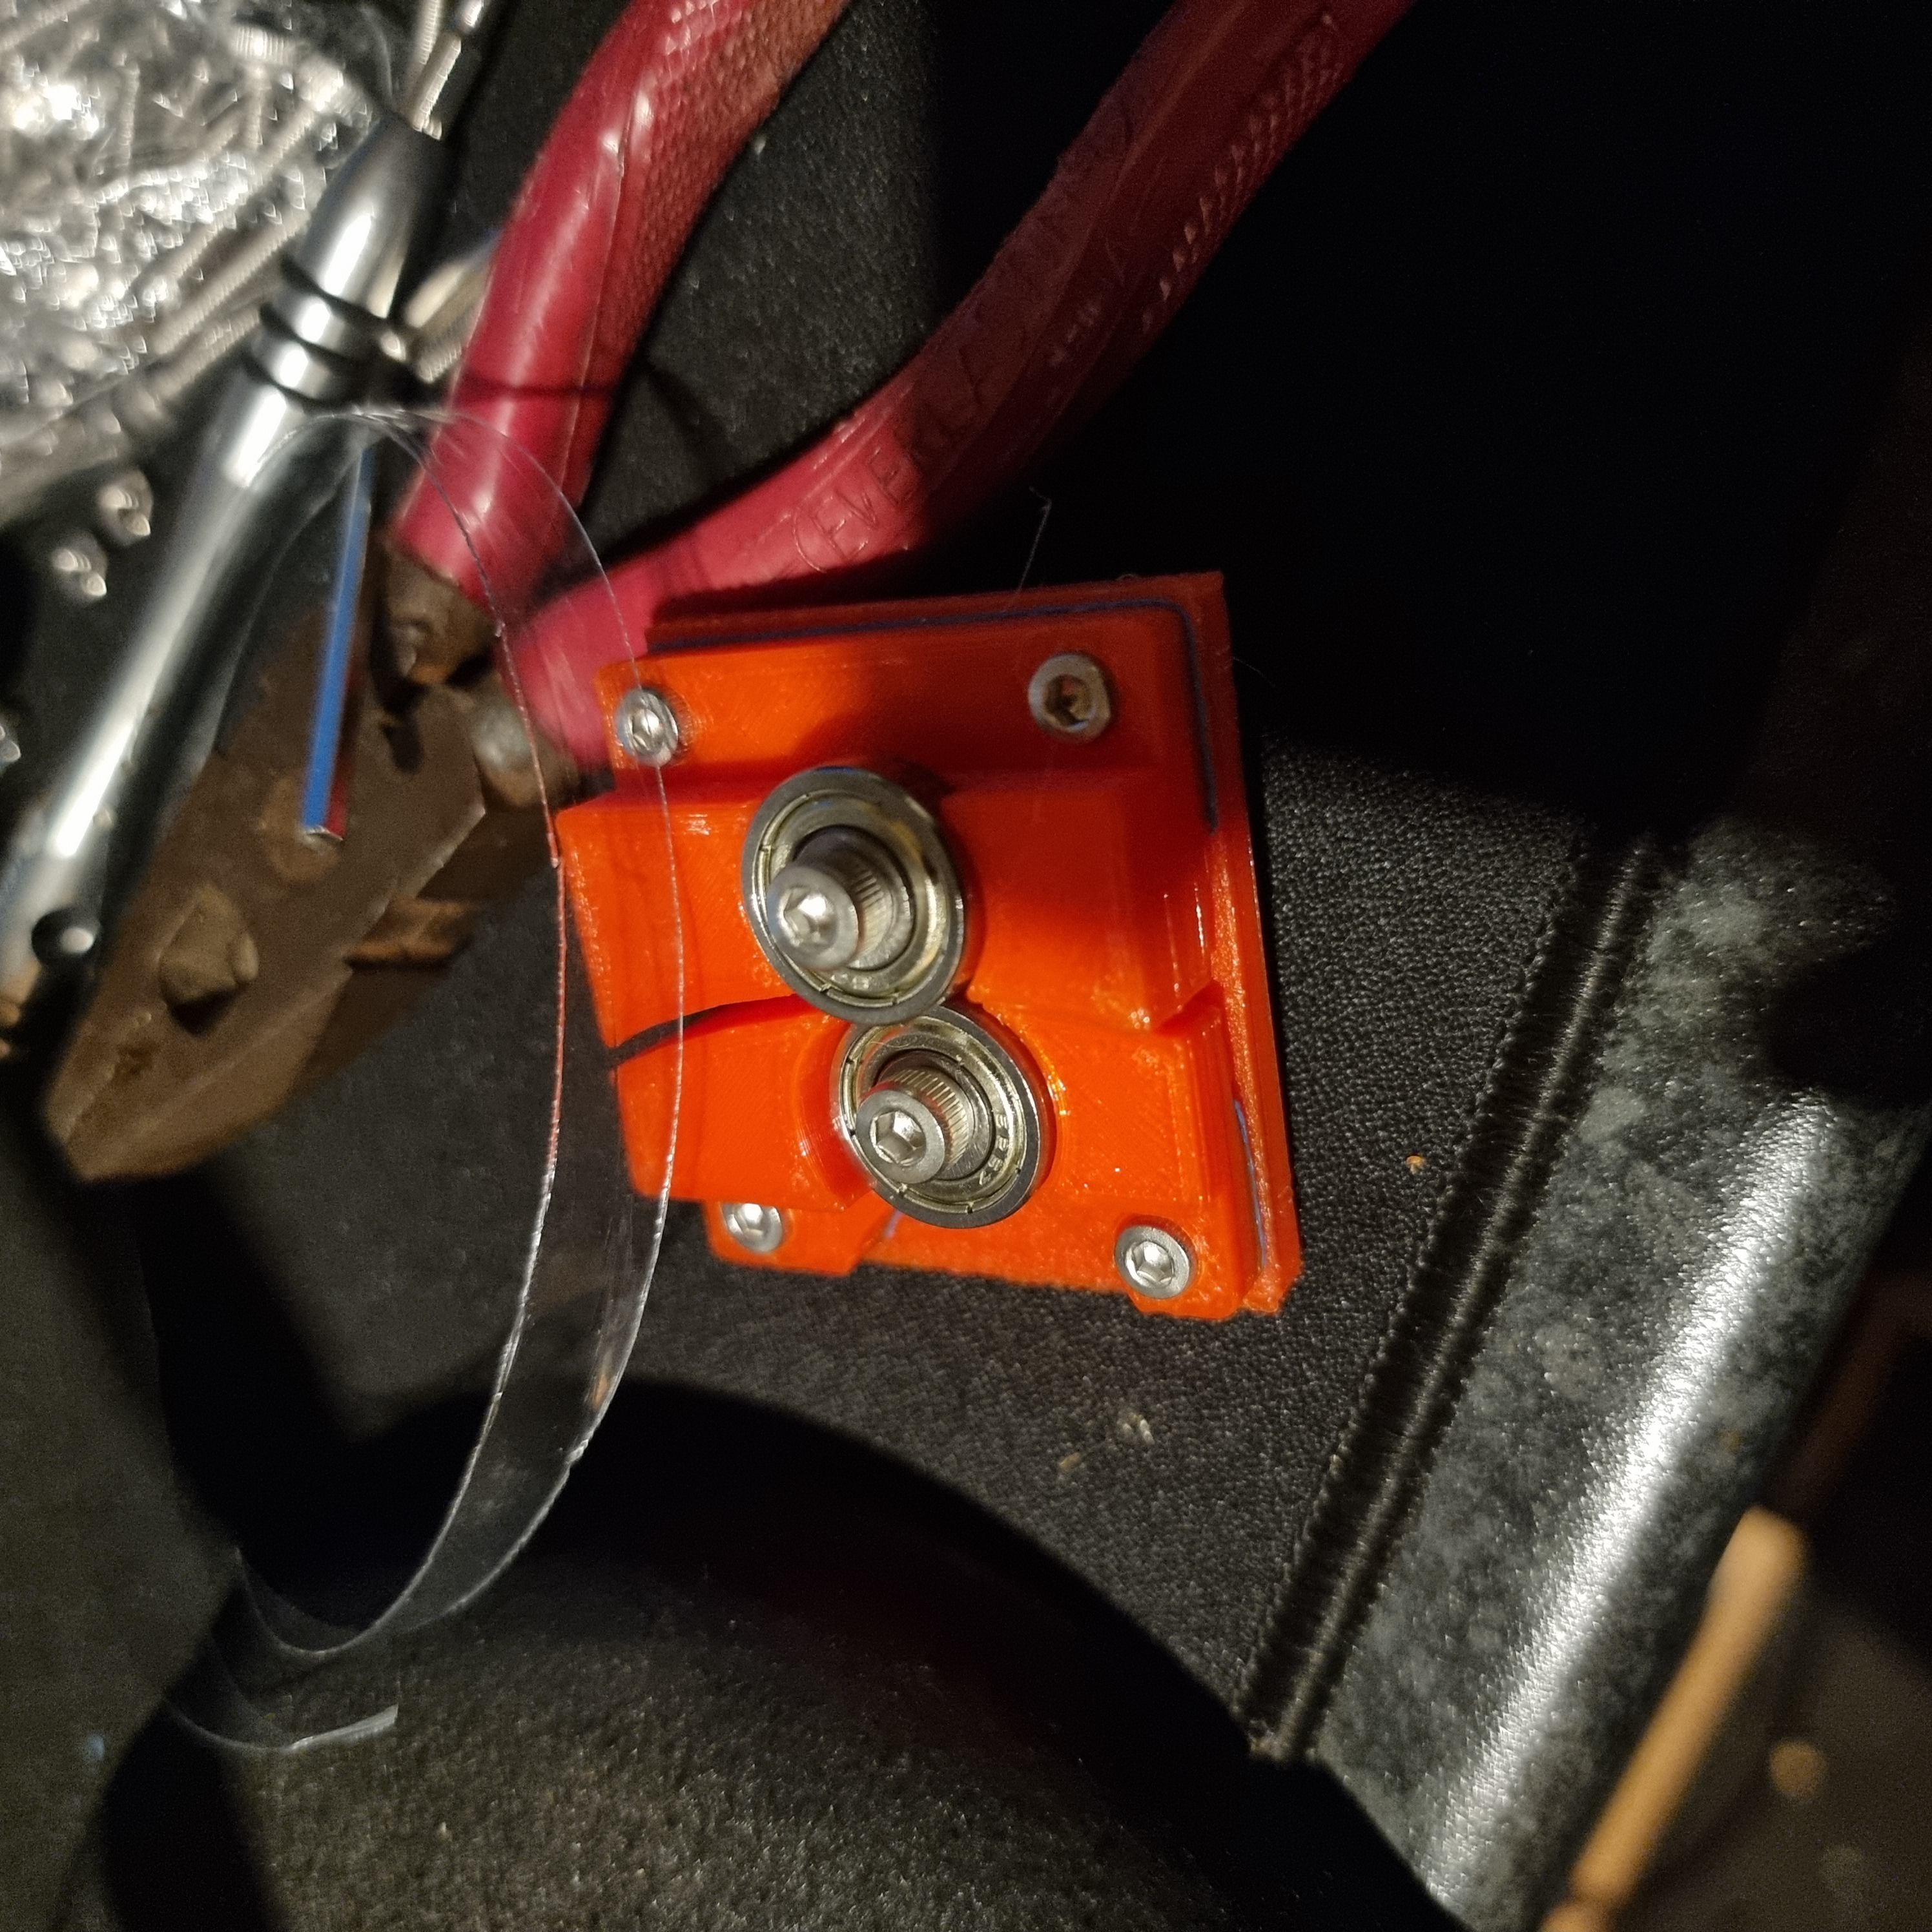
Basic assembly
Things go in places, get things lined up, fancy photos
;)How and why the planktruder is different
- Setting up firmware (Why Klipper? Macros, that’s why… also reusing the board in other projects)
Do I need to use klipper for my pulltruder?
Heck no!
The first pull
Planning Next steps
- Swap out for an improved gear reduction to stop the extruder motor from stalling
Gallery